Have you heard of bullet journals? If you’re not an Instagram or Pinterest aficionado, chances are you may not have done. But having a bullet journal is an excellent way to get on top of your productivity and creative output – especially if you’re a writer. In this post, I’m going to be looking at how you can start your own bullet journal and why it’s such an essential tool for writing.
I only started using bullet journals this month. However, in the 21 days we’ve had in June so far, I’ve managed to produce more work, in a focused manner, than I have in the whole of the year to date. I’ve accomplished at least five things every single day, including the planning for how I’m going to make a start on my book.
So I thought it’d be helpful to share my thoughts on bullet journals, and how you can get started with your own. I’ve also got some quick-start resources for you to get your own stylishly helpful bullet journals on the go as soon as possible. There are a few affiliate links in this posts to products that’ll help you start your writer’s bullet journal.
What you’ll need to get started with bullet journals
Before you start anything, you’ll need to put some time aside to set your journal up properly. I’d recommend having separate bullet journals for separate topics.
For example, I have one that’s purely dedicated to my writing work, and another that’s for my day-to-day life. If I mix them up it all starts to look like just another to-do list and then that becomes something ‘too much’, that I can easily ignore.
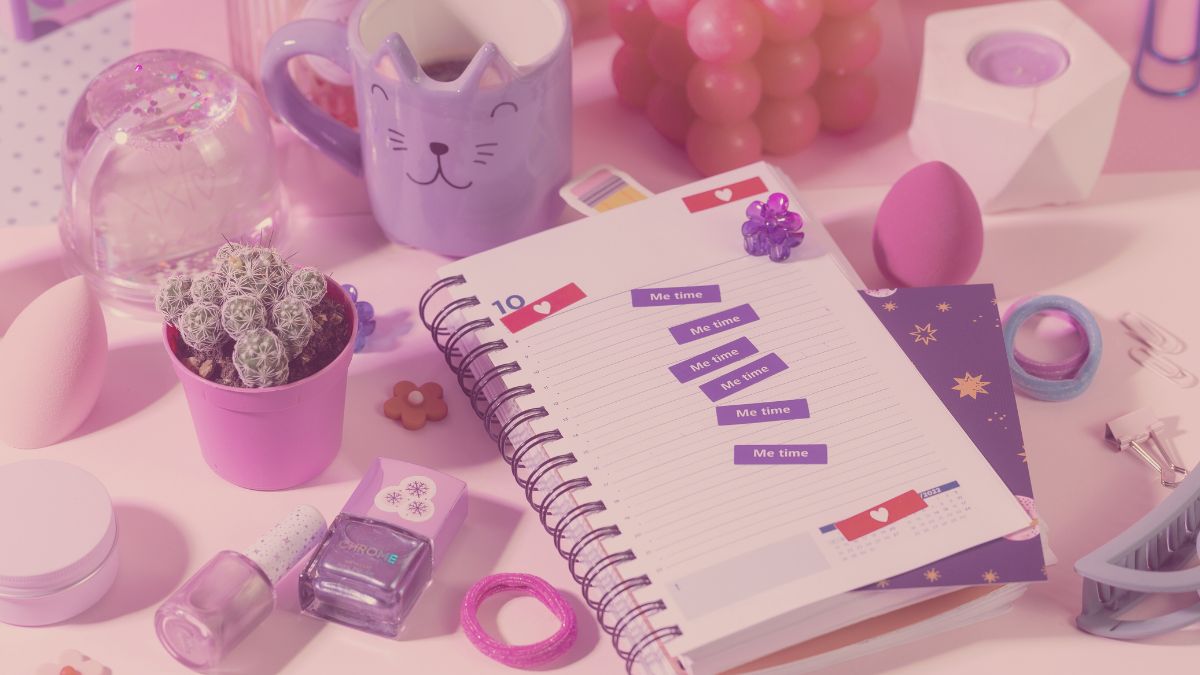
A bullet journal should be a hybrid of tasks and scrapbooking; the nicer it looks, the more likely you are to keep using it.
Journals
Fairly obviously, you’ll need the actualjournals themselves. My advice here would be to go for plain paper or dotted paper as opposed to
You want space to doodle, design and craft! You can use any old basic notebook to start with, or if you’d like to jump right in with something ready-to-use, colourful and pretty, check out some planner kits which come with lots of accessories built-in for you to mix and match.
Tools for journalling
It’s a bit like being back in the classroom, but grab yourself a pencil case and fill that beauty up with pencils, pens, a rubber and a ruler. You’ll be surprised at how therapeutic bullet journaling can be. The act of using pen and paper again in a world filled with digital media is super satisfying.
It’s also a bit of an eye-opener. Many of the skills you take for granted may need revisiting, such as handwriting (mine’s dreadful nowadays) and using rulers to create tables. Realistically, when was the last time you used a ruler?
Markers and pens matter
Get yourself some nice pens. I use calligraphy markers and a set of coloured fineliners as well as my standard ballpoint pens in my notebooks. Having the right tools for the job makes a huge difference.
Your bullet journals need to be something you enjoy adding to and decorating, plus the psychology of colour is important here too. Bright bold visuals draw your eye and attention and really make that task come to the forefront of your mind.
Colour choices can help with creativity
Colour choice is a subtle yet important consideration. I tend to avoid red and green when I set my tasks out, purely because it reminds me too much of having my work marked at school. However, you can use whatever colours work to make you focus on the tasks at hand.
I love pastel inks – they’re ideal for brush lettering. However, your actual writing and doodling would be better suited to art fineliners like Spectrum markers. I also have the broad nib version of these types of pens and they look so vibrant compared to standard inks. With that said, your pens don’t need to be expensive to be effective, so just use what works best for you.
Now, while I absolutely believe that making these books look pretty is important, it’s equally important that you don’t get so hung up on making them look nice that you forget the main aim of these journals: to get stuff done.

How do you set up a bullet journal?
The main concept behind a bullet journal is that it’s a tool to help you become more organised, and for writers, that’s always a good thing. There are loads of different ways that you can set up your bullet journal, as well as loads of different layouts. You can check some of them out on my Pinterest board, but this is how I’ve laid mine out for my writing goals.
Firstly, set up your whole book by numbering the pages, front and back. Leave two blank pages at the front (i.e. don’t number these), because these will be used as your index pages. For the rest, stick a page number in the bottom corner of each one.
Now, go to the second blank page you created and title it ‘Goals‘. We’ll come back to this in a minute.
Setting up a monthly log
Head to the first double-page spread. Mine is on pages 2 and 3. Title these two ‘Future Log‘. Then, on your next double-page spread, write the name of the month you’re in as the title. For me, this was June. These pages are known as your ‘Monthly Log‘.
Down the side of the first monthly log page, write the number and initial letter of the day you’re on right now and continue this list, vertically, in date order. If you’re near the end of a month, just set it up for the one that’s coming next and start on day one. It should look a little like this:
JUNE
5T (Tuesday 5th)
6W (Wednesday 6th)
7T (Thursday 7th)
8F (Friday 8th)
9S (Saturday 9th)
10S (Sunday 10th)
11M (Monday 11th)
Don’t spend too much time on this just yet but make a quick note of any important reminders or things that need to be done next to each of these listed dates. You can come back to this and add to it later and as the month goes by.
On the page opposite this one, put the name of the month in a bubble in the middle of the page; you’ll use this to create a spider diagram or mind map of all the things you can think of that you want to achieve in that month.
Using bullet journals for goal-setting
Now you need to go back to the page you titled ‘Goals‘. Set yourself three writing goals; long-term, medium-term and short-term. They can be as vague or as detailed as you like but don’t make them too unrealistic. They could look something like this:
- Long-Term Goal – write the first draft of a novel
- Medium-Term Goal – have a synopsis ready for the full novel by mid-year
- Short Term Goal – write one chapter per month
Again, your specific goals for writing will depend on the work you’re doing, but always keep them in mind and refer back to them to keep you on target. I’d suggest making your ‘Goals‘ page one of your most decorative and colourful, otherwise, it’ll become easy to forget about!
For mine, I used metallic markers and glitter pens to really make my goals stand out. You could add pictures or photographs of your family to help keep you focused on why you’re doing all this – it’s completely up to you, but make this page stand out!
Setting up a future log
Now, head to the next two pages, the ones you titled ‘Future Log‘. Grab your ruler and divide each page into six horizontal sections. Then label each one with the months of the year, starting from where you are now. You can lay this out differently if you wish, but I found it simplest to divide it up this way.
You’ll use this part of the journal to roughly plan out your 12-month strategy for writing. I set myself a target of writing 300 words a day, and worked backwards from there, dividing my time into realistic chunks each month.
If I can stick to the plan, I should be able to produce one chapter each month until next March, by which time I’ll have 10 chapters of the first draft of my book completed.
If you factor in other variables, such as work commitments and events, you can soon see how having a bullet journal is going to help keep you on task to get that writing done.
Monthly log and ‘rapid logging’
Now you’ve set out your year’s writing plan, you can go back to your monthly log pages. Fill in the list of dates and mind-map anything that you think is important for that month. Now, your next page should be titled with the date of the day you’re on.
From here you’ll create a daily diary of tasks, using a system known as ‘rapid logging’. This, basically, is just what it says on the tin; you rapidly log the things you want to do that day, using a code to categorise things.
The code has five symbols, as follows.
- Task (the formatting on this post moved this into a bullet point as if I was writing a list, but the first symbol is an actual bullet point)
° Event
– Note
X Completed
> Migrated (moved onto the next day)
Use this code each day and set yourself a few daily tasks. Add in any events and notes as you need to. I usually give myself five small tasks a day and cross them off with an ‘X’ as I complete them. If I can’t get everything done for whatever reason, I use the ‘>’ symbol to move it over to the next day.
The more you do it, the more natural it becomes and you’ll soon see how much you’ve actually managed to achieve by having a small checklist of things each day. Being able to visualise your tasks really does make a difference to the likelihood of actually getting them done. So, don’t be afraid to be colourful and bold with your tasks each day.
I usually set out my basic daily log quite quickly each day, using my coloured fineliners, and then I add to it as the day progresses.
Exploring bullet journal layouts
There are lots of different logs and layouts you can add to your bullet journals. These could include trackers, for example, to track your daily fitness efforts or to track how many breaks you’ve taken from your computer. Really, you can customise your journal as you see fit. There’s plenty of inspiration on my Pinterest boards.
For a purely writing-focused bullet journal, extra collections I’d include might be a daily vocabulary builder, a reading list, or perhaps a storyboard section at the back. The beauty of using bullet journals for writing is that you can personalise them entirely to your writing goals.
Don’t be afraid to get creative either. Bullet journaling isn’t that different from scrapbooking, and there are loads of papercraft and decorative resources you can use to embellish your writing journal and really bring it to life. If you’re feeling inspired to get started right away, grab yourself some supplies and let me know how you get on!
So there you have it, a beginner’s guide to bullet journals and why you really need one in your life if you’re working on a writing goal. Mine has made a huge difference so far, so I’d love to hear from you if you’ve used one too.
Have you had a bullet journal before? What would be your tips for a new user? Leave your thoughts in the comment box below.
If you’ve found this post helpful please do give it a share or pin it on Pinterest.


This was a really informative post. I’ve found other ‘get started with bullet journalling’ post’s to be quite confusing but this one has actually made all the symbols make sense. I can totally see why this would keep you motivated and on track with your writing goals. I hope you manage to get your chapters done in the time frame you’ve set out!
Do you stop yourself at 300 words a day or do you continue if you feel like it? xx
Ahh thanks Laura, that’s really great to hear 🙂 I keep going if I’m mid-flow, sometimes it really helps to have that smaller goal of 300 words and then when I realise I’ve actually written about 800 I’m extra pleased with myself haha! xx